
Remove unwanted notifications from your demos in iOS 15
When doing live demos on customer calls or meetings, there are lots of things that can make things awkward really quickly. One of those is getting text message notifications in the middle of your demo. If you’re lucky, it’s you’re boss saying “wrap this up, I’m bored” in front of everyone. On a terrible day, your ex is texting you, and you start hearing snickers in the audience as they react to the text message they weren’t meant to see. Either way, unintended notifications can get awkward really quickly.
But you don’t even have to go that far. We have photos of family and you don’t want to have pictures of your kids and family or people skimming through all the different apps that you use when doing a demo. You often want to clean things up on your phone, so people see what they need to see and nothing else.
Fortunately, there is now a new feature in iOS 15 that makes it much easier to create a “demo mode” and clear all those distractions. The feature, called Focus Mode, allows you to set which notifications are shown and which apps you want to enable notifications. Focus Mode was designed to help people focus on only certain types of apps and filter out the work apps part of your life, the home apps, etc. However, this feature becomes handy when doing demos on your phone.
In this article, I’ll walk through how you can make a “demo mode” on your iOS device so that you never have an awkward moment during a demo again.
What you are going to need
To use this, you need to have an iOS device such as an iPhone or iOS running iOS 15. As long as you have that running, then this will work.
Create a new Focus mode
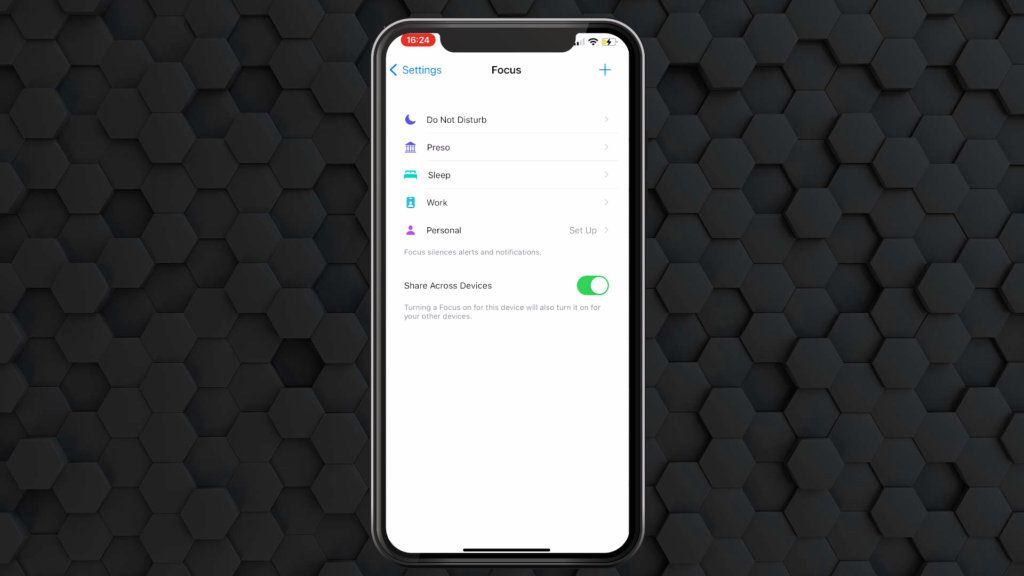
- On your device, go to Settings > Focus.
- Click on + symbol.
- Click on Custom.
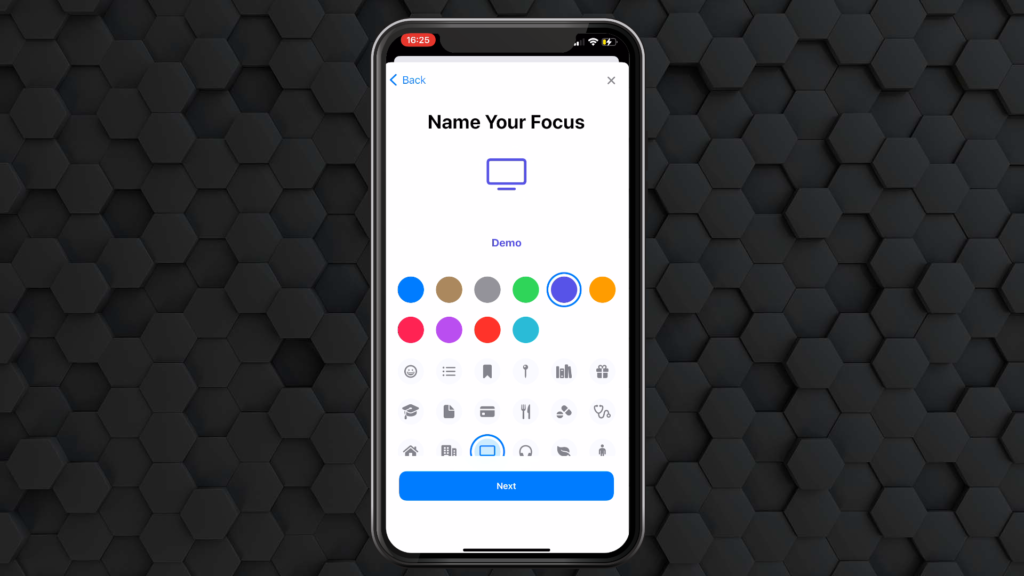
- Set the name of your demo. For example “Demo”.
- Set your color and icon.
- Click on Next.
Set Allowed People for Notifications
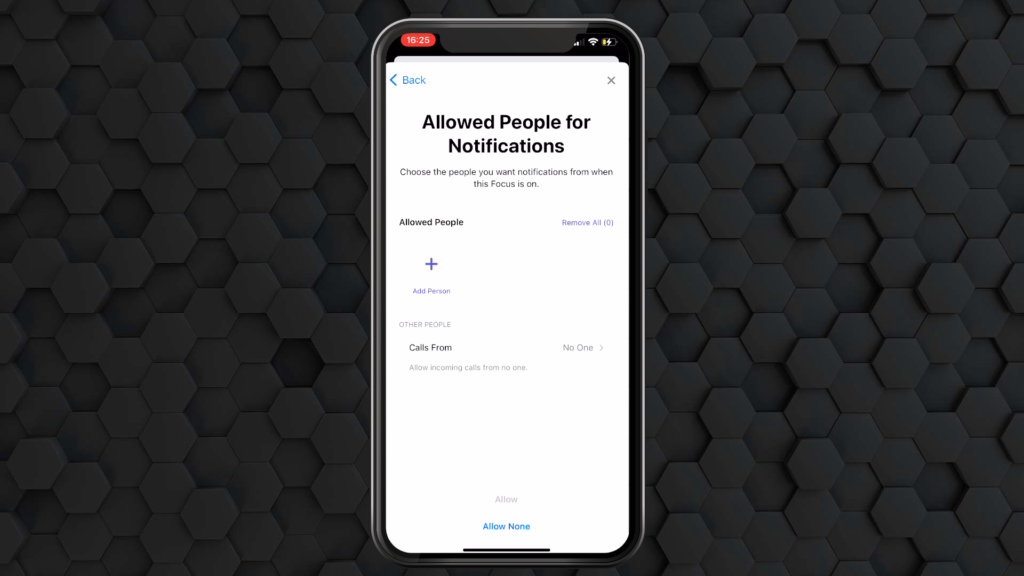
Normally during a demo, I don’t want any text messages or phone calls from people. If I do, it usually is from a specific person because that is part of my demo. With Focus mode, you can explicitly set which people can contact you while your Demo focus mode is on. Once you have specified who can send you notifications or call you, click Allow or Allow None.
Allowed Apps for Notifications
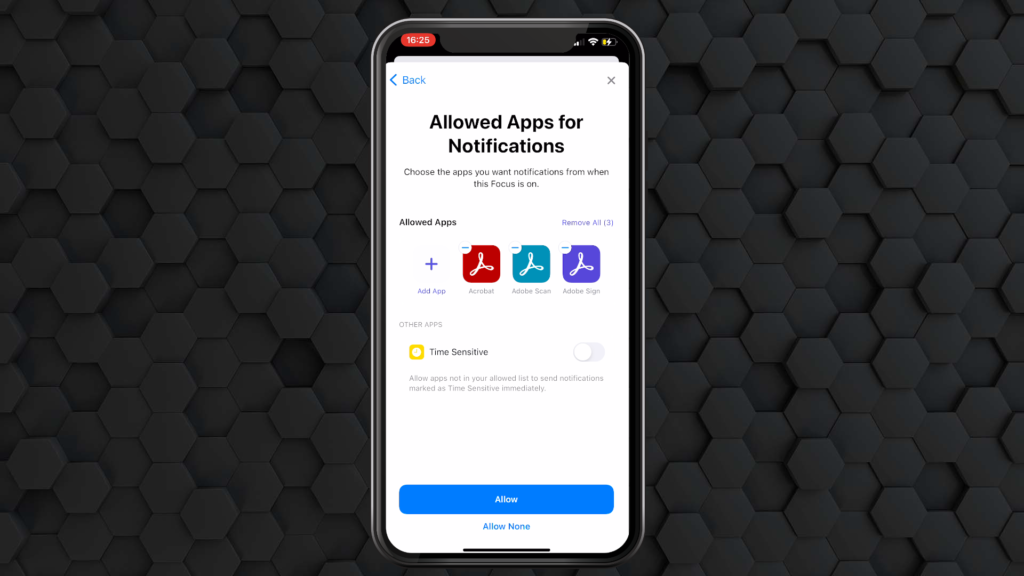
Sometimes, notifications can get noisy, such as breaking news notifications, etc. Before Focus mode, I would go into my settings and shut off notifications for all apps to ensure I don’t get a rogue notification from an app, but that is tedious. Fortunately, with Focus mode, you can show which apps can provide notifications.
You can specify which apps you want to get notifications in the Allowed Apps part. For example, if I am doing a demo with a fictional app like AppX, I can specify that app to get notifications from.
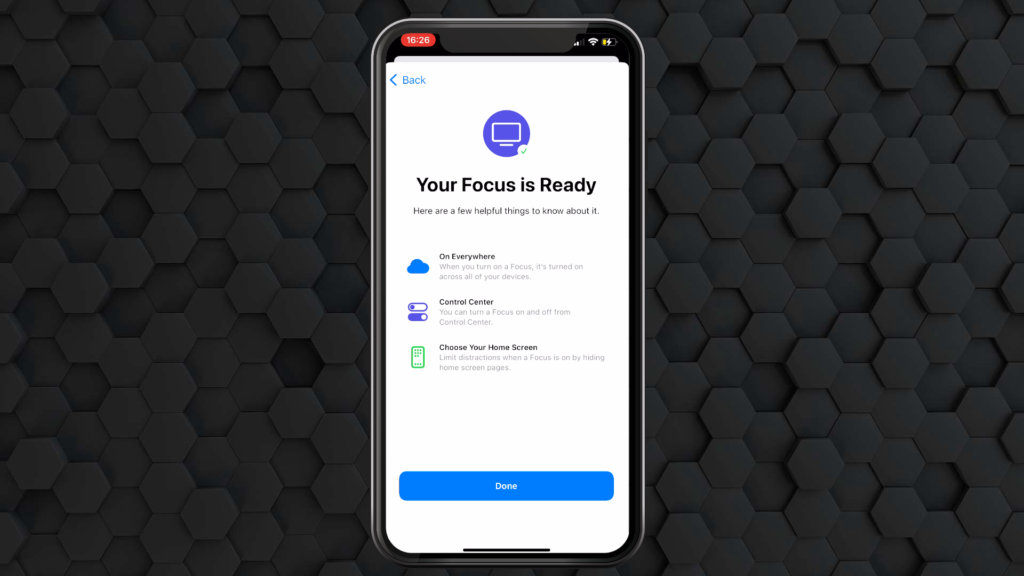
Once you set those, your Focus is ready, and you can click on Done.
Set a Custom Home Screen
To keep the focus on the apps that matter, you can set a specific Home screen to show so that people do not get to see all of the apps installed on your phone during a demo. To do this, the first thing you will want to do is create a new Home Screen page and choose which apps you want to show up on that screen. Tip: In iOS 15, an app no longer has to reside just on one Home screen. You can now drop it on multiple home screens. To learn how to create and edit your home screen, you can learn that here.
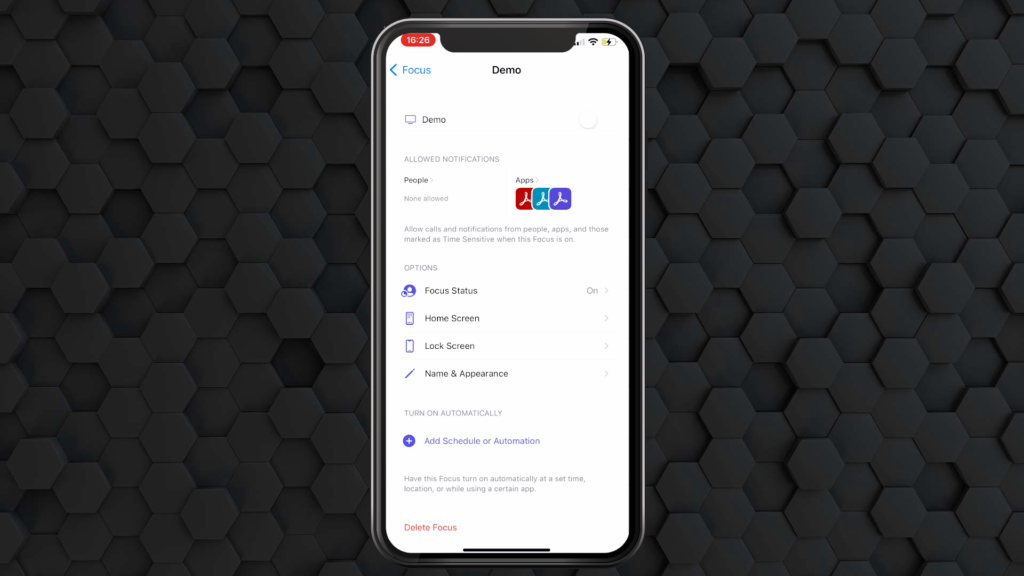
You can specify which home screen(s) you want visible during Demo mode within your focus settings.
- When editing your Focus mode, select Home Screen.
- Enable Custom Pages.
- Choose which Home Screen(s) you want enabled.
- Click Done.
It will then only show that Home screen.

How to enable your new Focus mode
Whenever you need to show a new demo then, you can do that in just a couple of quick, easy steps:
- Open up Control Center (on iPhone X or greater, this is swipe down from the top-right corner).
- Click on the Focus button.
- Choose your Demo focus mode.
- Swipe up to leave Control Center.
That’s it! Now you can do your demo with zero distractions. You don’t have to worry about any awkward moments, and you are in complete control.
Final Thoughts
In an ideal world, you have a separate device for demos from the one you use every day. In practice, though, that often isn’t financially viable. Phones are expensive. Fortunately, iOS 14 and iOS 15 added many handy features that can make providing demos on iOS devices extremely handy. Another example is that you can also show a cursor on an iPhone. All these ensure that you have a successful demo free of distraction and humiliation.